Keyes Packaging pride themselves on sustainability, creating packaging for fruits, vegetables, and wines from recycled bottle shippers and fiber case pack trays. They asked Sherpa to design an upright packaging solution that could hold twelve bottles of wine, saving money by maximizing the amount of wine per container.
This was a challenge because wine is fragile and the bottles would need to survive the drop test by handling a three-foot drop without any breakage.
Our design methodology
Sherpa began to explore design solutions that could best address the challenges. As part of that research, we examined commercially available wine trays from other companies. The goal was to make sure anything we design is as good or better than the competitors’ trays, and different enough to avoid patent infringement.
To create the final packaging, we needed to design and build vacuum form tooling and related wire form dies. We started with design concept development for the wine upper and lower trays. Once we completed rough concept development with client feedback, we refined it to a level suitable to produce 3D printed samples. We used these samples to check fit, learning how the bottles would nest and verified if the concept worked.
.jpg?width=1024&height=647&name=Print%20skip%20(top%20view).jpg)
FEA Analysis
Sherpa performed structural and dynamic Finite Element Analysis (FEA) on the baseline wine tray, and again on our concept tray and compared the two. Once these were successful, we moved onto prototyping.
Wine tray tooling components
Next, we developed tooling to produce prototype quantities of the 12-Ct (packaging for 12 bottles of wine in one box) for actual drop testing. These were designed for manufacturing (DFM) and Sherpa worked with Keyes’ tool makers to fine tune the parameters.
Sherpa designed the following formed fiber molding tools:
- Forming Die. This is the die that the pulp is vacuum formed on to create the article.
- Transfer Die. This presses the liquid and removes the article from the Forming Die
- Wire Forming Dies. The Forming Die is covered in wire mesh to allow pulp to collect and water to pass thru the screen. Each wireform usually needs a steel die to form it. The estimated dies included (1) of each type: a base, and Cup Type-1, 2, and 3 (12 in total)
- Bronze Deckle Ring. The parameter of the tool that defines x and y dimensions of the tray.
The outputs from these tools are RSC style corrugated shippers in the shape to store 12 bottles of wine in an upright 4x3 shipping configuration.


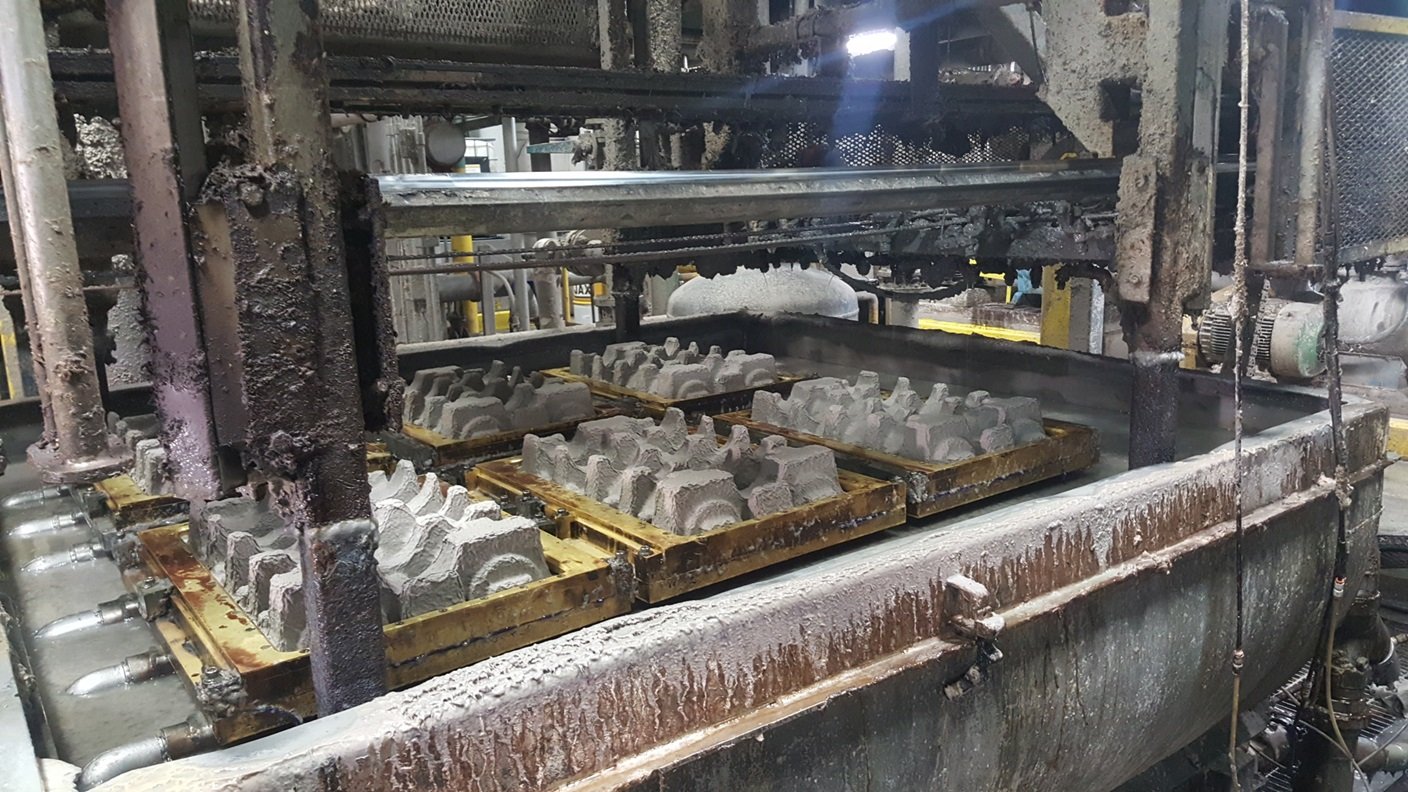
How the tooling forms the packaging
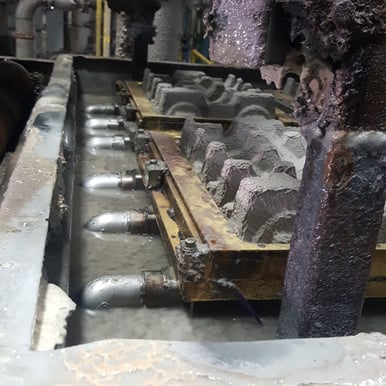 The forming die sits in a bath of slurry and water face up. There are small holes in the tool form that allow the vacuum to be applied from the back and draw the slurry onto the surface. Then the press die comes down and presses it to near uniform thickness. Next the vacuum changes with the bottom forming tool blowing and press die sucking, which secures the newly formed packaging to the press die so it can rise and eject the packaging onto a nearby drying line.
Drop Test Procedure for ISTA Certification
The prototypes were then sent out from drop testing for the *ISTA certification.
The object of the testing is to determine the product and packaging integrity during simulated shipping, handling, and warehousing tests.
DROP TEST RESULTS
The packaging was submitted to ISTA 3A testing, modified with repetitive shock vibration and resulted in no leakage or breakage of the product. The pulp positioning inserts held up in all phases of testing.
Need packaging material design services? Tell us about your project.

*ISTA is a member-based nonprofit that empowers organizations, and their people, to minimize product damage throughout distribution and optimize resource usage through effective package design. https://ista.org/
Reference to ISTA Certifications 3A
- Tape up the bottom of rectangular box on seams and edges.
- Mark the bottom side of rectangular box.
- Place bottom article in to bottom of box.
- Place a wine bottle or similar shape and weight of wine bottle into the bottom article packaging.
- Place top article on top of wine bottle
- Close up box and tape seams and edges.
- Measure up 36 inches from the ground and make a mark for repeatable drops.
- Match the bottom of the rectangular box to the 36-inch mark.
- Drop box ensuring that the flat face of the bottom of the box impacts the ground.
- Inspect box for liquids or broken and sharp objects.
- Write down observations and notes.
- Repeat steps 8 thru 11 for 10 trials.
- Open packaging and inspect bottom article for tares, gouges, and deformed packaging.